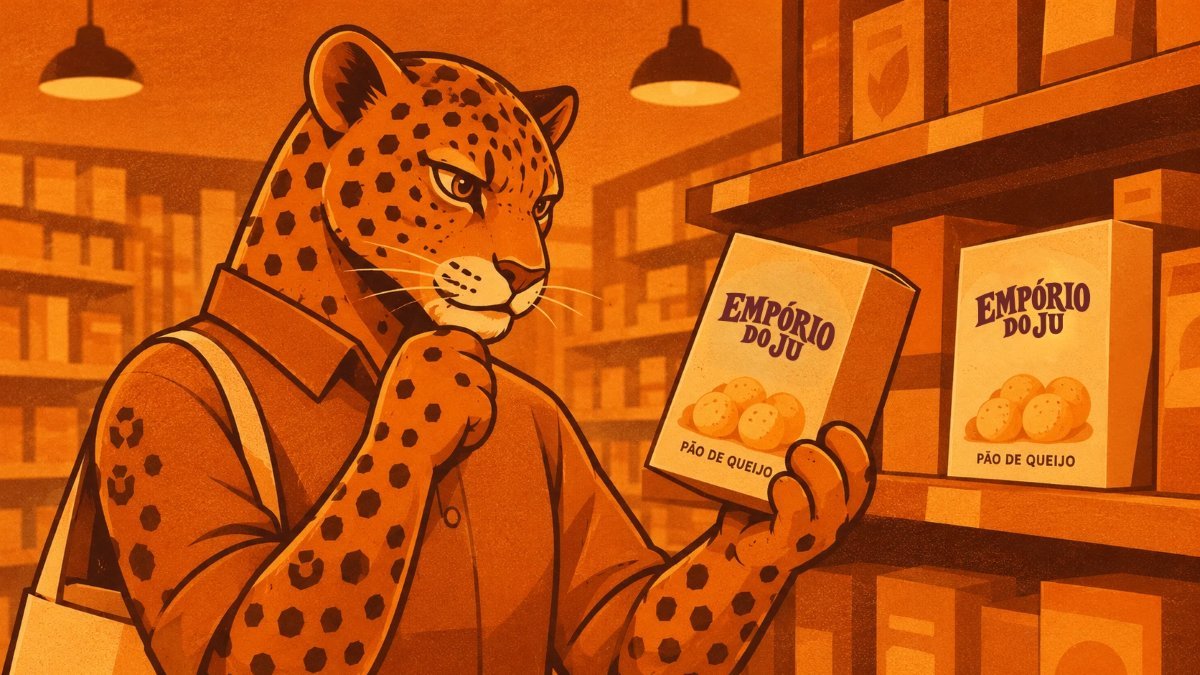
With your product defined, tested and approved, it's time to think about the packaging that will carry it to the consumer — and that's exactly where I come into the process.
Step 1 — The essential information
What information does your product need to carry before it can be sold? In my case study — a pão de queijo (Brazilian cheese bread) package — I followed the guidelines of the FDA (the U.S. food regulator) and ended up with this list:
- Product name (Statement of Identity) — the package has to show the real name of the food, not just the brand name. "Empório do Ju" alone isn't enough — you need something like "Brazilian Cheese Bread" printed clearly on the front, prominent and large enough for anyone to read from a distance.
- Net weight — how much is actually inside. It must appear in both U.S. and metric units — ounces and grams — placed in the bottom third of the front panel.
- Ingredient list — every ingredient, listed from heaviest to lightest. No vague terms like "spices" hiding something important — the law requires specific, common names.
- Allergen statement — you must clearly call out any of the nine major allergens: milk, eggs, fish, shellfish, tree nuts, peanuts, wheat, soy and sesame. For pão de queijo, that means milk and eggs at the very least — usually right below the ingredient list, as a simple "Contains: Milk, Eggs".
- Manufacturer information — who made it and where. Your company's name and address have to be on the package — that's what makes the product traceable and legitimate.
- Nutrition Facts panel — calories, serving size, added sugars and key nutrients like vitamin D, calcium, iron and potassium. There are exemptions for very small businesses — but if you want your product to look professional on the shelf, include it anyway.
- Barcode — a scannable UPC code. Technically it's not a government requirement, but no retailer will put your product in their store without one. You get it through an official barcode registry, not a random generator on the internet.
- Storage and preparation instructions — especially for something frozen or perishable like this one: clear instructions — keep refrigerated, bake at this temperature, for this long. This isn't optional if you want happy customers and fewer returns.
Step 2 — Understand the format with your supplier
Before designing anything, I contact the packaging supplier to understand which format they offer that fits best — every supplier has its own dies and standard sizes, and designing without that conversation usually leads to expensive rework later.
With the format defined, I use a free online tool to simulate the base of the package: bleed, margins, the safety area for content, plus the cut and fold lines. Dieline generator — GoVisually
Step 3 — The creative part
With the essential content defined and the base of the package ready, we get to the part I love most.
First, I lay out all the essential information in the best possible way, following the FDA guidelines and the Gestalt principles — hierarchy, proportion and grouping, so the consumer's eye finds each piece of information effortlessly.
Then I create the images needed to show the quality of the product and what the customer should expect from it — in this case, warm pão de queijo fresh out of the oven.
Step 4 — The golden space: brand voice and story
With the essential information in place, there's still room left on the package — and that's the golden moment to use your brand's tone of voice and your story in the best possible way.
Say what the customer is already thinking. Tell them what you offer them emotionally, and what they're supporting when they choose your product.
Step 5 — See it in 3D before production
Before closing the print file, it's worth seeing the package assembled in 3D — that's when any problem with proportion, folds or visual reading shows up, while it's still cheap to fix. Dieline to 3D Mockup — Pacdora
See it in practice
Watch the full video of this process
If you enjoyed this content, comment: Friendly Design